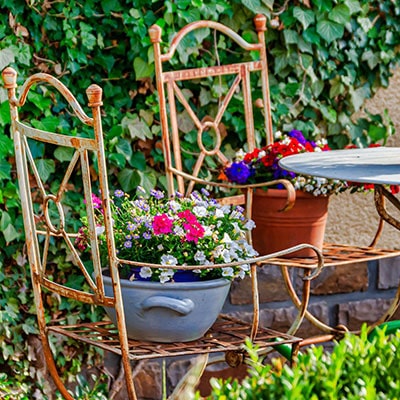
As spring arrives it is time to begin prepping the garden areas ready for guests. One way to spruce up your garden is with various DIY outdoor decorating ideas. Decorating a small garden nicely makes it more visually appealing and feel more welcoming. The following DIY decorations can help spruce up the small garden with items that can be both appealing and useful with little added cost, and a much larger sense of self-accomplishment.
Give flowerpots a mosaic look
Make use of broken porcelain or pottery by creating a one-of-a-kind small garden DIY decoration. If there are no broken or cracked ceramics at home, seek them out at a local market. Chipped and cracked pieces can be bought for next to nothing and they are ideal for the purpose of making a mosaic on flowerpots. For the best results the colour scheme should be kept simple; the common blue and white patterns can be most effective and attractive. For those with a more creative sense, a unique colour scheme can be created that really catches the eye.
- First and foremost, when creating the mosaic pieces (breaking them up) use protective eyewear. The best way to break up the plates or fragments is by hitting them with a hammer after covering them with a thick cloth. To trim pieces to size use a tile nipper. Use china repair adhesive on the back of a piece and then press it against the pot. For the best visual results the pieces should be applied in such a way so relatively even gaps are left between the mosaic pieces. The glue should be left to dry overnight.
- The grout should be applied next. Premixed grout can be obtained from the local hardware store. The grout should be applied to the entire surface of the clean, dry pot, filling all of the gaps between the pieces of mosaic. This will give the pot a unified look.
- Smoothing out the grout is important. The grout can be evened out and smoothed out using a tile float. Once the application of the grout is complete, allow it to dry for several hours. The tile will appear to have a hazy film as the grout dries. Use a damp sponge to carefully wife away this film from the pieces of mosaic. The sponge will need to be continually rinsed out during this process.
- Let the pot dry completely for about a week. Apply a grout sealer once the grout is completely dry. These decorative pots are great for blooming plants, but are also useful for holding napkins and silverware or garden parties.
Make DIY small garden edging with terra-cotta tiles
The borders of any small garden can be dressed up by using these handmade edging tiles. This DIY edging serves multiple purposes including preventing grass from encroaching on shrub borders or flowerbeds. Edging and trimming chores can also be cut to a minimum by using wide, flat borders that create a mowing strip. However, the decorative border as described below adds an element of artistic flair to the flowerbed the entire year.
- Measure the garden bed and calculate the number of tiles needed. This is easy to calculate when using uniformly sized ½-inch thick 12-inch square terra-cotta floor tiles. Use a tile-sized bit of thin cardboard to sketch out an attractive design. Use simple shapes and gentle curves in the design to make cutting much easier. Also keep in mind that at least four inches of the tile should be sunk into the ground. The cardboard sketching then becomes the template for the design. The shapes can then be traced onto the tiles. Always use eye protection when cutting the tile into shape with a jigsaw blade.
- Use foundation sealer as a way to prevent the porous edges of the tile from crumbling once it is placed into the soil. Dip each part of the tile that will be in the ground into the sealer to about four inches and let them dry overnight. Use a square-pointed shovel or a trowel to remove the material, creating a trench for the tiles. The trench should be about one inch wide and four inches deep. Remove any roots and rocks from the area and stand the tiles side by side in the trench. Once the tiles have been set to match the design template, backfill and tamp the soil to secure the tiles in place.
Create awning striped painted flower pots
This is a simple paint motif of broad stripes and bright contrast that is reminiscent of awnings and garden parties and is great way to add a cheerful look to plain terra-cotta flowerpots.
- Begin with a terra-cotta pot that is clean and dry. Use a pencil to mark pencil points at the bottom and on the rim for spacing. Use the width of the brush for space and white enamel to hand-paint stripes on the pot. The brush size should be chosen in relation to the size of the pot. This method may produce some slightly ragged edges, giving the pot the hand-painted look. If more controlled and precise edges are preferred simply use masking tape to mark off the stripes.
- Use white enamel to paint the rim of the pot. Once the paint is permitted to dry thoroughly, an acrylic fixative can be brushed on. Make the stripe motif more interesting by painting pots of various sizes in this fashion. These pots make perfect gifts and table-top decoration.
If garden edging sounds like a great idea to you, but you don’t feel you can pull off a DIY project, take a look at some of our garden edging products.


