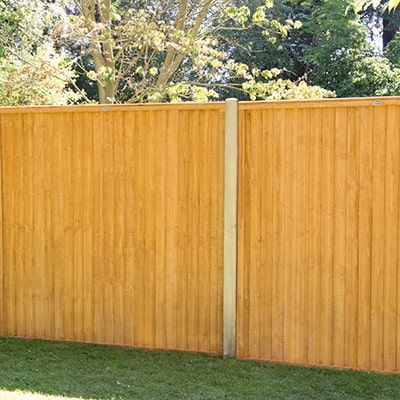
Here we guide you through the basics of how to build a fence.
The best time to build a fence is when the weather is mild without extreme rain, heat or cold. Frozen or rock hard ground makes digging difficult if not impossible. However, a soggy, muddy hole isn't the most stable home for a fence post.
Summer and early fall are ideal times. Early fall sees most plants and trees at the end of their flowering season so they aren't as bushy or as unhappy when disturbed.
Now, let's get started building that fence...
Tools required
For measuring
- String line
- A tape measure
- Bamboo canes
For installing fence posts
- Fence posts
- Border spade
- Hardcore / gravel
- Post mix cement
- Spirit level
- Timber battens
- Post-caps
- Wood screws
- Drill
- Screwdriver
- Protective gloves
- Dust mask and goggles for mixing concrete
- Finials (optional)
For putting up fence panels
- Fence panels
- Gravel boards (optional)
- U-brackets
- L-brackets
- Wood screws
- Drill
- Screwdriver
- A tape measure
- Protective gloves
Preparation
Check the rules
Before you even lift a fence post of shovel, make sure you check your fence will not need planning permission. Read our blog How Tall Can My Fence Be? to find out more.
Inform your neighbours
Next, consider your neighbours. Are you sure the boundary is yours? Read our blog Which Fence is Mine? if you are unsure. Then, chat to your neighbours. It's courtesty to let them know what you are planning to do, especially as you are likely to need access to both sides of the fence while you are working.
Clear the area
Move any obvious rocks and debris that will get in the way of measuring and digging. If you do it know, it won't be such a difficult job later.
If you have existing plants that may be damaged during the build of your fence, gently dig them up and pot them. When the fence is constructed, you can replant them. To give plants enough time to recover and to help the growing process, the best time to install a fence is autumn/early spring.
Are you aware of where your pipes and cables run under your land? Just be careful while you are digging your fence post holes. If you want to be extra cautious, you can request plans from local services. This is a free service offered at LinesearchbeforeUdig.
Measuring out your fence line
Next, mark out your fence run with string line and pegs to follow when digging holes for your posts, ensuring your measurements and alignment is correct.
Bamboo canes are useful for marking out your spacing. They usually are easy to push into the ground and tall enough to see. If children and pets are around, use cane guards.
Get a Helper
Building a fence can be quite a strenuous job so you will find it a lot easier with a helper. A second pair of eyes is great to ensure a straight fence and the additional man power will assist with the lifting and assembly.
Installing Fence Posts

If you are sinking your posts into concrete (the method we recommend and describe, you will need to have them 2ft higher than your panels. If you are using post spikes, you will use the same sized posts and panels. We will discuss this method in another blog.
After fitting the second fence post, you should fit your fence posts and panels alternately. You don’t want to put up all your fence posts only to discover you mismeasured.
- Dig a hole about 60cm deep and 30cm square. If the ground is really difficult to dig , it might be worth investing in a bar and specialist post hole spade.
- Once the hole is finished, fill the bottom with about an inch of gravel. This will help with drainage reduce the risk of rot.
- Put the post into the hole.
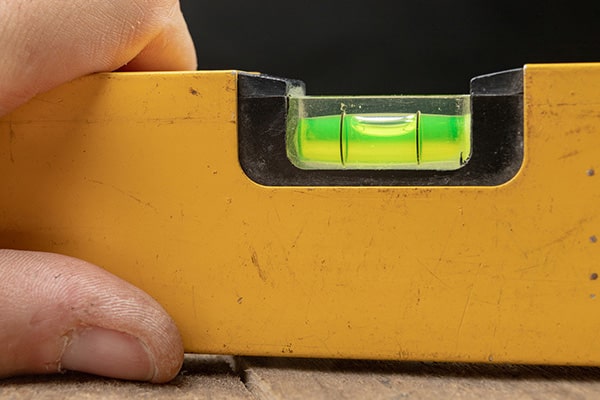
- Gradually fill the hole with the dry post fix cement, packing it down while continuously checking the level of your post with your spirit level.
- Fill the hole to about an inch from the top. You will later cover the top of the cement with soil.
- Pour water over the cement.
- Screw a couple of battens to the post as props, checking with a spirit level. These can be removed when the cement has set.
Installing the fence panels
- Essential if you are using dip treated fence panels - and still recommended if you are using pressure treated fence panels - you will need to use a pressure treated gravel board at the base of the panel .
- Fix the gravel board by first marking and pre-drilling the posts. Then, fix one 'L' bracket at the base of each post using a drill or electric screwdriver. When they are just about tight enough, you will need to locate the final position of the bracket by hand, using an adjustable spanner.
- Fix the gravel boards through the brackets with 20mm screws. – remember to use a spirit level to keep the board square
- Now you are ready to fix the fence panel.
- This time, attach two 'U' brackets to the inside of each post by marking out positions about 10-15cm from the top and bottom of the fence panel.
- When your brackets are fixed, carefully lift your panel into place and secure it through each bracket.
- Repeat this process until your fence run is complete.
Finishing Touches
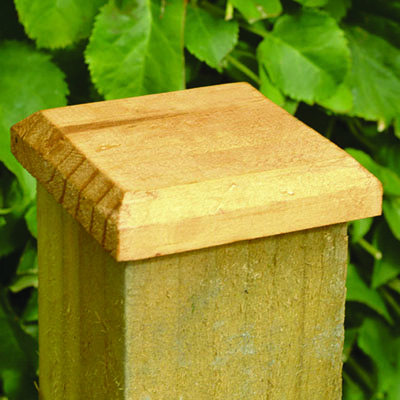
The last job is to finish each fence post with a post cap. This will help to protect the end grain of the wood from taking in water, but at the same time it provides a neat finish to your posts.
- To prevent splitting during installation, soak the post caps in a bucket of water.
- Apply a silicone-based sealant to the underside to reduce the chance of water seeping beneath and rotting the top of the post.
- Nail a post cap to the top of each post
- For a final decorative flourish, why not add a ball or acorn finial to your finished fencing?
Do you need to treat your fence once it is up?
- If your fence panels are pressure treated, then no. Check the guarantee on your particular pane but you shouldn't have to treat your fence for at least 15 years.
- If your fence panel is dip treated, your supplier may have recommended painting the fence within 6 weeks of installation. Usually dip treated fence panels have to be re-treated every year to validate any anti-rot guarantees, which run for 10 years.
Updated 01.10.19


