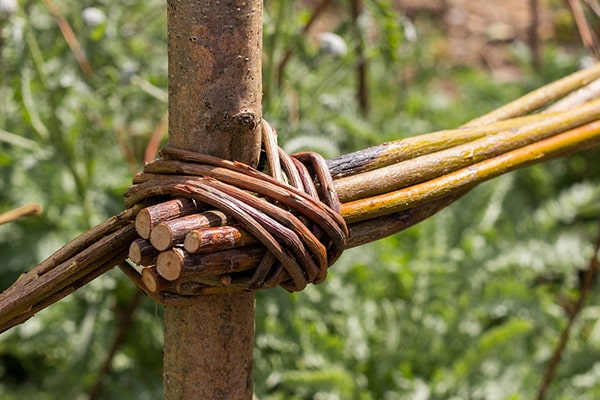
Weaving a willow fence is actually very easy. As something that has been done for centauries thanks to it’s easy to build advantage and long lasting factor. The fence itself is incredibly sturdy and when done properly will take a lot of force to damage.
Willow fences are perfect for sectioning of parts of the garden, they provide privacy as well as low level security which is ideal for keeping pets away from parts of the garden you do not want them to ruin or parts that can be dangerous.
To weave a willow fence you will need some materials.
Step 1 –
First of all you need willow vine or any other long vine/stems that you can find in abundance in most gardens at this time of year. Look for long straight vines that are strong but also have space to bend. If you cannot find enough in your garden use the power of texting and ask around family and friends and see if they have any that you can use.
Depending on what size fence you want to achieve will depend on how many vines you will require. The best thing about a willow fence is that you can make it just how you like so you can use just enough to make you happy.
Step 2 –
The next requirement you will need is the rod poles that will act as fence poles which you place into the ground. These need to be extremely sturdy and thick branches and dug deep just like you would a fence post to maintain vigour. If you need a rough idea on how to make a fence post then check out this guide here. Again depending on the scale of the fence you want to achieve, this will reflect on the size of your posts.
Once you have your posts standing you can start adding and twining your vines. A word of warning – vines hurt when they spring back so make sure you are careful and wear heavy trousers to prevent sore slapping.
Step 3 –
Start from one end and weave in and out until you start to see the fence forming. It takes time and precision so do not rush the process. Make sure you have enough vines so that you can create a thick fence that will last longer than thin easy to break fences.
Step 4 –
Using a think vine start from one end and then go back alternating the pattern and so on. Another way to achieve vines is to find a branch and use an axe to split the branch in two to achieve thicker sections. Slot the branch down between the posts weaving in and out and then using the palm of your hand, force down the branches so they are nice and snug. Occasionally pieces will slip out but go back and reinsert or use another piece to fix it back in line.
Final Steps -
Take a stand back occasionally and make sure it is level, we cannot stress how much easier and better the fence looks when level.
Once you have reached the top, trim the sides to finish of the fence. Use some rope and tie the top branches to the posts as this will ensure that they do not sling out.
If the above sounds like too much work for you then take a look at similar fences onsite, achieving a similar effect without the hassle.


