Giving your garden fence additional strength by concreting in fence posts will ensure everything stays in place all year round. It’s not as easy as some think though, so forget about just putting your post in the ground and hoping for the best. There is an art to achieving a solid and sturdy fence. From choosing the right location for each post to the moment of pouring in the concrete, you need to follow the right steps.
Doing this correctly means you can expect less wobble from your fence, increased stability, and a sleek, polished appearance that will make your neighbours envious. So, get ready to lay a strong, long-lasting foundation for your garden fence by following our steps below outlining how to fix a fence post in concrete.
Editor’s Note [22.03.2024]:
Our article about concreting in fence posts was originally published on January 17, 2017. New sections were added for equipment needed and additional supplies, the tool’s needed section was given a major rewrite as was the step-by-step process for installing a fence post into concrete or a hard surface. Other new sections included a list of benefits of anchoring a fence post on a concrete slab as well as a related articles section.
How to fix a fence post in concrete
Concreting in fence posts is an important task for the sturdiness and durability of your fencing. Below we provide a list of tools, equipment, and supplies you will need. Additionally, we provide a step-by-step guide for every part of anchoring a fence post to concrete.
Tools needed for concreting in fence posts
The following tools will all be valuable for concreting in fence posts:
- Chisel – use this for minor adjustments and tricky little tasks
- Drill - attach fixtures to your posts or pre-drill holes. It is a handy tool for fine-tuning
- Fence post hole digger – similar uses to a spade, but is far superior in digging narrow and deep holes, specifically for fence posts
- Hammer – use this for a variety of hammering tasks
- Post level – strap this tool onto the post and check that it is straight on all sides
- Saw – you will need this to cut wooden fence posts to the precise size and shape needed
- Screwdriver - an alternative to a drill, for securing screws
- Spade – for digging holes! This is perhaps as an alternative to a fence post hole digger, as both tools can be used for different aspects of the work
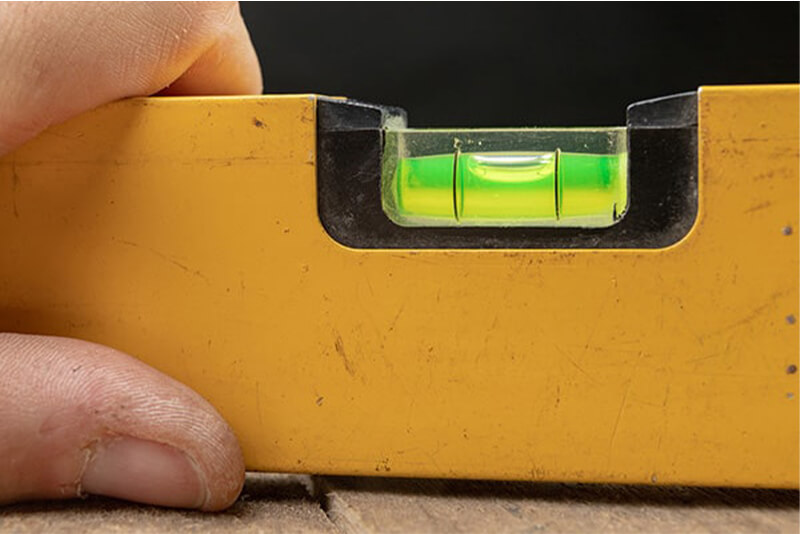
- Spirit level – ensures that your posts are even, which is crucial
- String line - helps in aligning your posts in a perfectly straight line
- Trowel – this helps you to smooth out concrete and secure a neat finish


Other equipment for securing a wood post to concrete
The following equipment assists in tasks like containers for mixing or transporting materials. These will prove invaluable when you approach how to fix a fence post in concrete:
- Bucket - for mixing concrete, you will need a bucket!
- Paintbrush or roller - for a smooth paint or stain application
- Rake - for levelling the ground around your posts after installation
- Tape measure - a tape measure is your best ally for precision measurement
- Wheelbarrow - makes moving heavy materials (e.g., soil and concrete) much more manageable
Additional supplies for concreting wooden fence posts
Other supplies you will need for securing fence posts into concrete are listed below:
- Concrete mix - the backbone of your project. This mix is what keeps your posts standing tall and looking proud
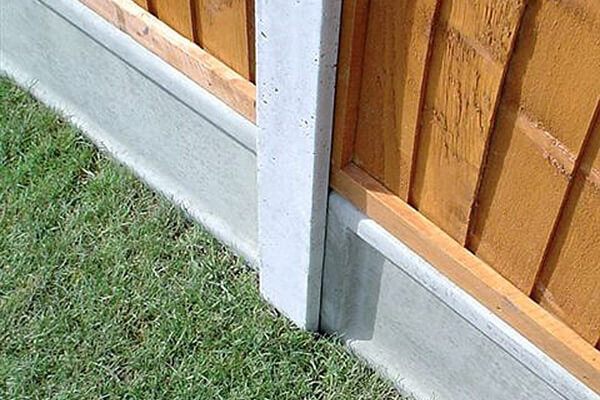
- Gravel boards – the use of wooden or concrete gravel boards is highly recommended
- Nails or screws – these secure any additional elements to your posts
- Paint or stain – these add extra colour or treatment protection to your posts (and are optional) and fence panels
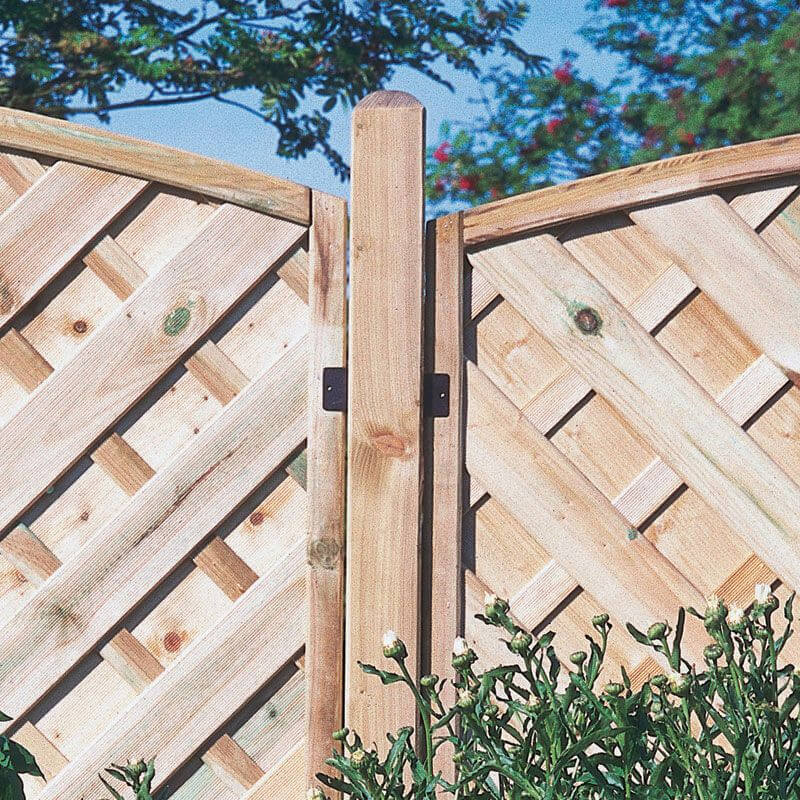
- Post caps - these top off your posts and give them a finished look
- Rubble bags - for any mess or excess soil you happen to dig up
- Timber for bracing - keeps your posts in place while the concrete sets
- Water source (hose or bucket) – these are essential for mixing up your concrete unless you prefer a super dry mix
Fixing/install a fence post into concrete or a hard surface
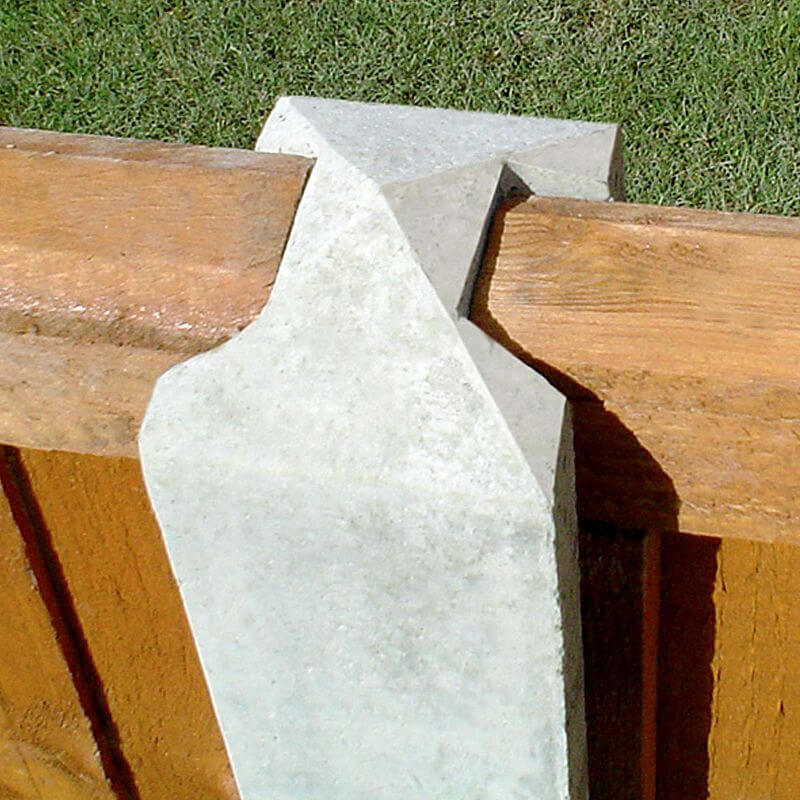
Listed below is a step-by-step process for concreting in fence posts. This process applies to concreting wooden fence posts as well as concrete fence posts.
Choosing the perfect location
Place the fence post base support into position, where you would like the post to be. You want it in just the right place to line up with your fencing plan.
Dig the hole
Before you install a fence post into concrete, it is time to get digging! Your hole should be about three times as wide as the post and deep enough to ensure a solid foundation.
Treating the post
Treat your post with a wood preservative if it is timber. This step gives a shield against rot and water damage.
Mix the concrete
Whip up your concrete mix, think of the consistency of a chunky smoothie. You want it firm enough to hold the post, but not too runny.


Position the post
Mark out the positions of the bolt holes for drilling and remove the base support. Drill the holes and return the base support. Fix the base post in position using the concrete fixing bolts. Insert the fence post and tighten the bolts on the base support
Pour the concrete
Pour your concrete mix around the post, this gives your post a concrete blanket and a feeling of being all snug and secure.
Spirit level testing
Use a spirit level to ensure that the fence post is square. You will not want to have to endure a wonky fence for years to come.
Support the post
While the concrete sets, brace your post to keep it straight, this is like giving your post a little crutch to lean on.
Let the concrete set
Patience is key; let the concrete set properly. This is a good time for a well-earned drink and to admire your handiwork.
Finish and seal
Once set, you can add any caps, finials, or sealants to the post, this adds a classy final addition!
What are the benefits of anchoring a fence post on a concrete slab?
Some of the main benefits would include custom height control, easy alignment, increased property value, lifespan longevity boost, low maintenance requirements, more stability and less wobble, a barrier to pests, resists frost heave, and brings versatility in design.
Related articles
Consult the following articles from the Buy Fencing Direct blog for more information and advice on installing fence posts and related themes:
Conclusion - how to put a fence on concrete
This process needs precision, from mixing concrete onwards. The foundations are crucial when you are concreting wooden fence posts or setting a fence post on a concrete slab. Remember, how to put a fence on concrete is more than a practical task, it is also essential for fence stability and property safety.
By mastering the techniques described above you will deliver a stable and stylish fencing boundary for your outdoor space. If you are still wondering about the benefits of anchoring a fence post to concrete, read our benefits list above.
Contact options
Buy Fencing Direct has finished our guide about securing fence posts into concrete. If you need further advice and guidance about securing a wood post to concrete, why not contact us? Our team await your call and can advise about fence repairs, as well as purchasing new fence posts and fencing supplies.
Contact us using these methods:
- Phone us at - 0333 003 0515
- E-mails – send using our contact form
- Text chat – message us through the real-time text chat app


