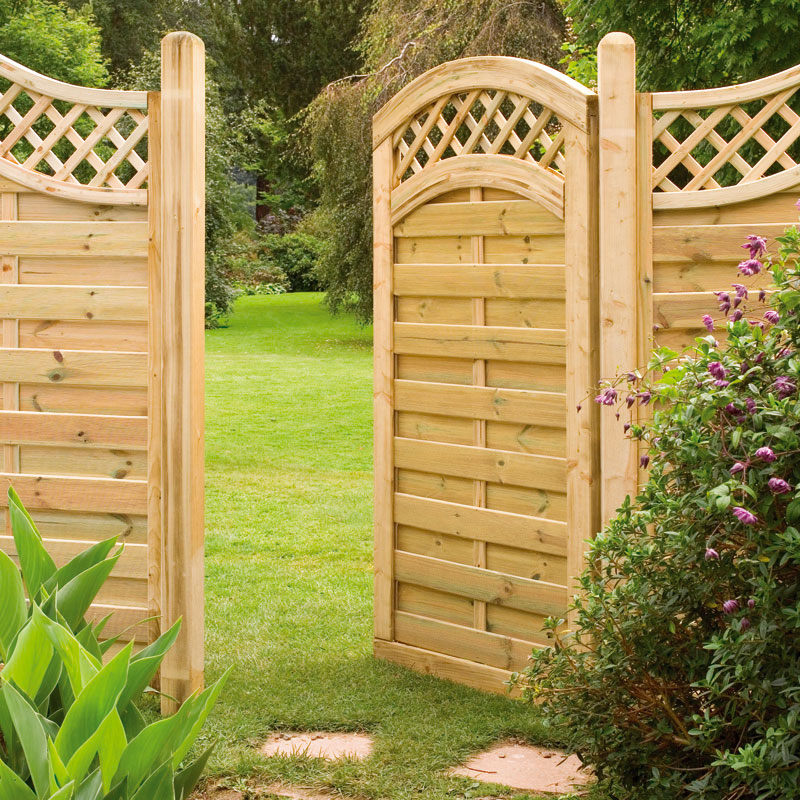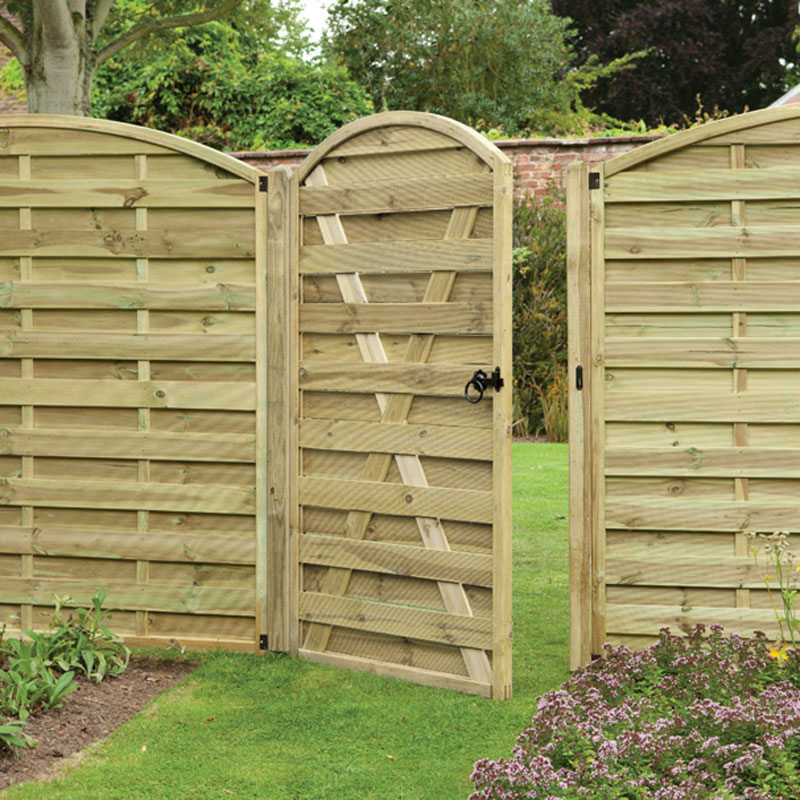
Go for chunky, solid, well made gates for years of easy access.
Never skimp when buying your gate as it is the one piece of the garden that potentially is being opened, shut, slammed and swung on for years. Quality is the key to a successful gate.
Choosing the right gate
If you are buying a brand new gate, choose carefully to ensure it matches existing fencing or property. The 5-bar gate is a classic gate and well suited to estates, large driveways and country style properties.
Side gates are usually solid, tall and capable of stopping anyone scaling them at will. Security is often a reason for a gate in the first place. Wooden gates should always be pressure treated to prevent rotting for at least 15 years and all metal fittings and screws should be galvanised to prevent unsightly and corrosive rusty marks.
Such gates come in a variety of sizes and shapes, and the choice is endless if you include bespoke gates. There are standard sizes of gates available and if you are simply buying new then great – just base your choice on style and quality. If, however, you are replacing an existing gate that has rotted or worn out, then do measure carefully. Older gates may have been made to an older specification, or even made to measure, so never assume a new gate will slip into an old space. When measuring, measure in both metric and imperial systems. This saves any possible mistakes when converting your hastily scribbled notes when at the retailer or online.
Gates are usually screwed to a post which in turn is bolted to a wall. That's the ideal – solid and built to last. Always check posts are in good condition before screwing on your new gate. You wouldn't build a wall on shaky foundations so don't do it with your gate.
Posts should be bigger for larger gates – a big 5-bar gate is heavy and will easily rip out dingy fixings from rotten posts. I like to set the posts in concrete, sloping the top of the concrete away from the base of the post to prevent water puddling which increases the chances of rotting.
It's a good idea to allow all concreted posts to set for a week or so (so they can 'go off') before hanging your gate. Gates are heavy – as you will find out when trying to manipulate one into place! Posts can be bolted into walls but again, use quality, heavy duty fixings.

How to fit a garden gate
Lay out flat your gate and fixings. You will also need plenty of wooden blocks of different sizes, and old tiles if handy for temporarily packing up gates to ensure everything is level.
A spirit level is, of course, essential and I do like to rope in a friend to help. All gates, even the smallest, are awkward to handle, manoeuvre and fix when battling solo. Make sure you have your gate the correct way round as there is usually a front and a back (the flat, finished face is usually facing outwards with supports on the inside)
Fix the hinges to the gate before you fix the gate to the posts (or wall) then offer up the fixed hinges to the posts and fix using a couple of screws.
Don't compositely fix using all the screws until everything is level and you are happy with the look. Use the spirit level! Tighten the screws up, keep that spirit level handy and in use at all times.
When fitting remember that gates need to have some clearance underneath them to ensure you don't rake out the ground, damage your gate, or cause blockages to rainwater. 20mm is a good size for a clearance gap. Those wooden blocks, chocks and tiles come in handy here.
Check, check and check again
Once your gate, or the first gate of the pair is fitted, ensure it is in good working order. Clearance should be good, allowing an unimpeded, smooth operation. If all is OK get those other screws in before the gate starts its lifetime of hard work. Finish it all off by fitting a quality, galvanised latch and away you go....one perfectly fitted gate.
Top tips
- Never skimp on quality – a gate is a hard working member of your garden team
- All metal should be lacquered and galvanised to prevent rusting
- Spirit levels are a must – never trust your eye!
- Get things level and in line for a perfect finish
- Check everything is in working order before fitting latches and catches


