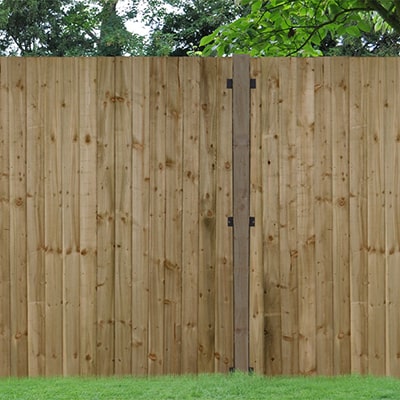
There are a number of different sized metal post support spikes available on the market for different fence heights. Using a metal spike means that you can avoid digging a big deep hole within which to place your fence post. Keeping a timber fence post out of the soil (above ground level) also helps to reduce the likelihood of the post rotting.
The most common sizes of metal spike include:
A 600mm (24 inch) spike – this will support fences up to 1.2m (4 feet) high.
A 750mm (30 inch) spike – this will support a fence which is 1.8m (6 feet) high.
In order to drive the spike into position you will need to use a sledgehammer and/or driving tool. Remember to check the ground for underground services before starting. To protect the socket end of the fence support when hammering the spike into the ground, it is a good idea to place a piece of wood of a similar size to the fence post in the socket. It is important to make sure that the spike is going into the ground vertically; a spirit level can be used to check this. The spike support is in place once the socket is the only part of it showing above the ground.
Once the fence post has been slotted into the socket, it needs to be secured by screwing through the holes provided on the sides of the socket. Remember to make sure that each fence post is in the correct position to accommodate the space of each of your fence panels; you don't want to get it in the wrong place and have to keep hammering in the spikes again and again.
For more information on how to correctly install a fence post, watch our useful video below.


