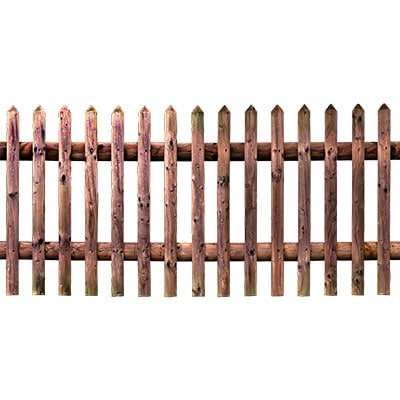
- Timber
- Saw
- Measuring tape
- Screw/Fixtures/Hinges
- Picket/Timber lengths
- Screwdriver.
- To start off with, measure the distance between your two fence posts and note it down. Then using that measurement, cut two lengths of timber two inches less than the distance between the two. EG – If your distance is 30 inches then cut two lengths that measure 28 inches. These will become the top and bottom planks which create the frame.
- Measure how high you would like your fence – We recommend having a gate similar height to your fence line as this will look the best. If you want a shorter or higher fence than that is completely up to you. Once you have selected a height, cut two more lengths which will then create the frame.
- The next task is to form the frame. Place the two height planks straight and then screw the width planks on top to form a rectangle. If the gate is tall then we advise adding a middle brace to distribute even pressure.
- Now you have your frame, time to add the picket lengths. Any timber can be used to fill in the middle depending on your budget. All DIY stores will have different types to suit all desired styles. Measuring again the width distance between the two side lengths and the width of the pickets/posts you can work out how many will fit between the two side posts.
- Using screws and screwdriver you can position the pickets so that they fit between and form a secure fence. Some prefer fence gates completely filled, some prefer gaps. Either way you have a gate that functions.
- Now your gate is ready, apply a layer of fence treatment to ensure longer protection against rot. Once dry you can start to attach your gate.
- Using a fixture kit which includes a gate hinges, attach the gate and test that it works. If you have issues with it fitting then move the hinge attachment forward or backwards to achieve perfect hanging.
- Finally it’s time to add the bolt lock, adding a lock will keep the gate shut when it is not in use, protecting your pets from the outside.


