When was the last time you inspected your garden fence for signs of rot and fungal decay?
Oh, you can’t tell me? Tut-tut, that just won’t do.
Unbeknownst to many, the greatest threat to any innocent run of garden fencing isn’t powerful, gale-force winds - extreme weather of this nature is so unlikely in this country - nor a swift, slat-splitting kick from a hooligan idly destroying every panel within a two-mile radius.
No, the true arch-nemesis of your fence panels and posts is far more banal. Slowly it creeps, until your entire fencing run is consumed, rendering it useless, and your pockets empty. Rot, is the most perilous hazard facing your fence panels and posts.
Surely though, there are precautions one can take to minimise the risk of premature decay? How do you stop a fence rotting?
Rot Proof Fence Panels
Should your fencing fall foul of rot, seek out replacement panels and posts labelled ‘pressure treated’; the pressure treatment process creates virtually rot proof fence panels. Here at Buy Fencing Direct, our pressure treated panels are guaranteed for a substantial 15 years against both rot and fungal decay, with no need for expensive, time-consuming annual retreatment.
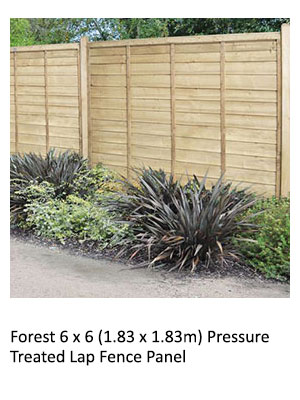
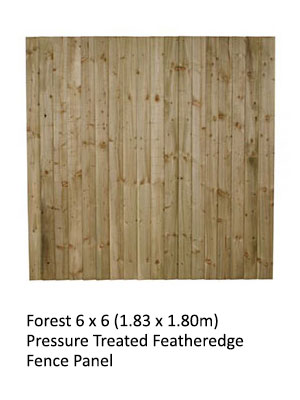
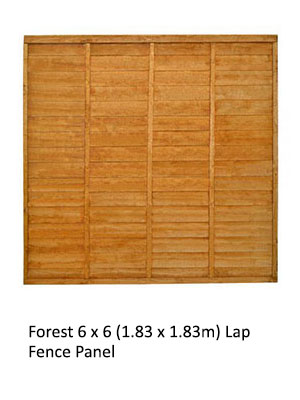
If you’re unsure whether your panels are pressure treated, take a look at the colour. Pressure treated fence panels are pale and look natural; dip treated panels, on the other hand, are a distinctive orangey-brown colour – they don’t possess such lengthy anti-rot guarantees.
How to Treat Fence Panels
If your garden is home to an extended run of dip treated panels don’t despair, keeping rot and fungal decay at bay is not too difficult. Typically, dip treated fence panels come with a 10-year anti-rot and fungal decay guarantee; however, they do require an annual coat of wood preservative.
Treating panels is a simple enough process:
1) Clean away any debris, such as cobwebs, lichen and moss from your panels with a stiff, dry brush.
2) Calculate the area of fencing you need to treat; multiply the surface area of a panel with the number of panels in the run.
3) Purchase a high-quality, brand-name wood preservative.
4) Follow the application instructions.
And, hey presto, your fencing run is protected! It’s really as simple as that.
Are Gravel Boards Necessary?
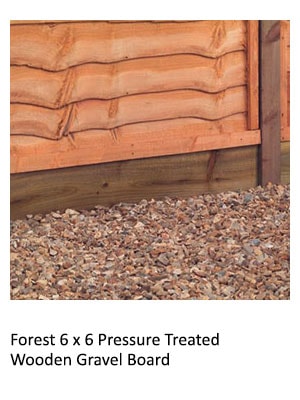
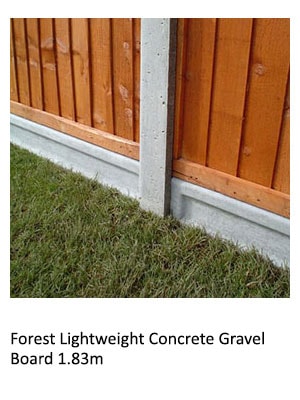
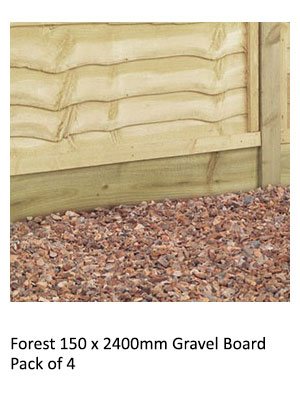
In a word, yes. Gravel boards are essential for preventing rot; they simply sit underneath panels, protecting them from moisture, plants, and other detritus on the ground.
There are two common types of gravel board available: wooden and concrete. Wooden boards are pressure treated and feature the same impressive 15-year guarantee as panels and posts. Concrete boards are more hardwearing, heavy-duty, and robust; either option is fine.
Plus, an added benefit of gravel boards is the extra height they provide, slightly bolstering privacy and security.
Do Fence Posts Need Caps?
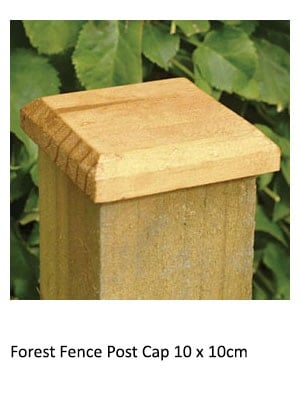
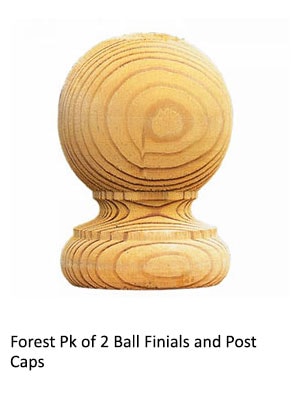
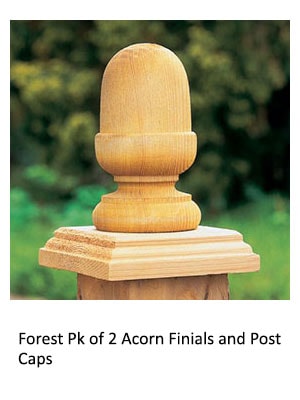
Again, absolutely. Although seemingly insignificant, caps are vital tools in the fight against rot, fulfilling the crucial role of protecting fence posts’ vulnerable tops. Without fence post caps or, if you’re feeling fancy, finials, the tops of posts remain constantly exposed to the elements. Extended periods of excess rainfall can cause a build-up of moisture which, inevitably, leads to rot.
Given you can currently purchase one of our fence post caps for a miniscule £1.29*, why wouldn’t you purchase a few? After all, this option is far cheaper than the cost of replacing all your fence posts every few years.
Besides, they look superb too!
Replace Rotten Fencing
The observant among you will have noticed that the above suggestions all follow the famous mantra: prevention is better than cure. Sadly, once rot has taken hold of a post or panel, there’s little that can be done; there’s no option but to purchase a replacement – there is no cure for rot.
How to Replace a Rotten Fence Panel
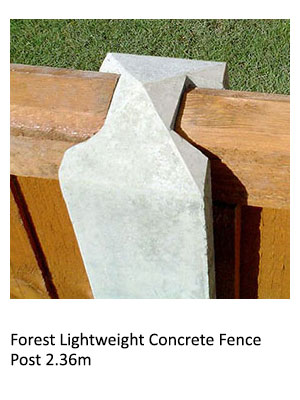
Those of you with concrete, or h-slotted, fence posts are in luck. Replacing your fence panels couldn’t be easier; of course, the old panel slides out, and the new slides in.
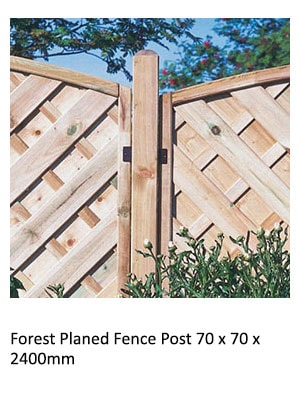
The process is a little more time consuming if you have standard wooden fence posts, but still easy enough.
- First, unscrew any clips, and pry out nails; be sure to wear appropriate safety gear throughout, especially gloves (splinters are never fun).
- Next, lift the panel out – this is a two-person job.
- Check the clips thoroughly for misshapenness – you may need to order a couple more packs; four clips per panel should suffice, one near the top and one near the bottom on each side.
- Once the clips are securely in place, slide the new panel into place.
- Screw the clips tightly to the panel.
Replacing a post however, is a little more work. But, don’t panic, it’s still a straightforward task.
How to Replace a Rotten Fence Post
Upon spotting a rotten fence post, the first thing to do is remove the adjacent fence panels. Saw any part of the rotten fence post that is still in the ground until it’s flush with the ground.
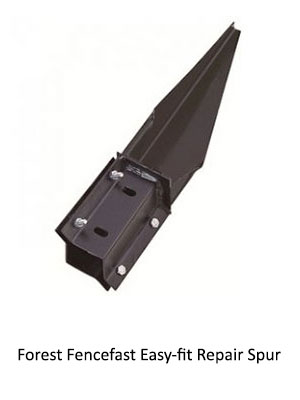
Then, you’ll need to purchase a repair spur, such as this one and a driving tool.
Position the repair spur at the corner of the fence post, using the hammer and driving tool to force it into the slight gap between the ground and buried post.
Once the spur is in place, insert the replacement fence post into the box-shaped top of the spur, and tighten with a ratchet and spanner.
You can then attach the panels to the new post.
See, that wasn’t so hard, was it?
So, there you go, our ultimate guide to preventing fences from rotting, and how to replace affected panels and posts. If you’ve used, or can think of, any tips and tricks which have been missed from this article, please feel free to leave a comment down below; it would be fantastic to read your suggestions.
If you’ve found this article useful at all, or know someone who needs to know how to stop a fence rotting, why not share it on social media with your family and friends? The whole team, here at Buy Fencing Direct, would really appreciate it.
*Price correct for product at time of publishing.
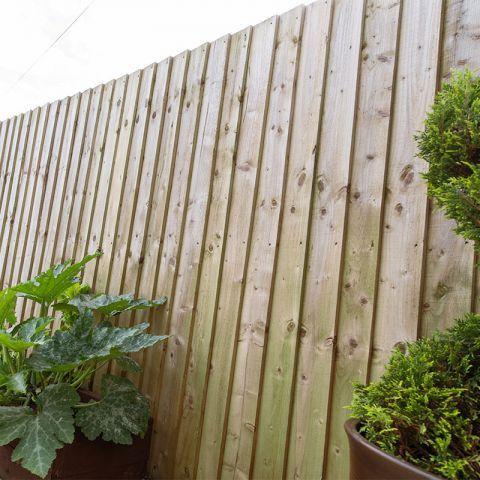
Main image: Forest 150 x 2400mm Featheredge Boards Pack of 6


